


There are several project management tools used by companies to manage their project lifecycle. Oftentimes, these tools rather than making project management simpler become a blocker while developing products. They are either too complex to use or their functionalities are overwhelming to the user.
Rather than the team focusing on delivering products, time is being wasted trying to navigate the project management tool. This is what Linear intends to solve.
What is Linear?
Linear is a modern Project management software used to track and manage projects from ideation to launch. According to the words of Karri Saarinen who is one of the co-founders of Linear, “Our vision is to create a more enjoyable and efficient way to manage software development”.
Linear ensures teams focus on the actual aspect of building products leaving the tracking and management to Linear.
Why Linear?
You may be wondering why Linear, as there are several project management tools already available in the industry. Well, unlike other available tools which oftentimes try to focus on the entire project management, Linear has a primary focus which is Software management. This singular focus makes it easy to use and navigate. The following features make Linear stand out.
1. Speed
Linear operates at a very fast speed. Updates are made within a few seconds and these updates are in real-time.
2. Offline Support
Linear works both online and offline. This ensures that every team member is always in sync with others irrespective of the state of their connectivity.
3. Integrations
Linear offers integrations with several platforms such as Github, Gitlab, Slack, Discord, Figma, Sentry, Zapier, Zendesk, Intercom, Front, Jira, Google Sheets, Airbyte, Notion etc. Linear also has a public API that companies can use to further improve their use of Linear.
4. Simplicity
Linear has a very simple and easy to navigate interface. This ensures that new members added to a team spend less time learning its usage.
Detailed Guide On Using Linear
SignUp
1. Go to the Linear homepage at Linear.app and click the Sign up button at the top of the page
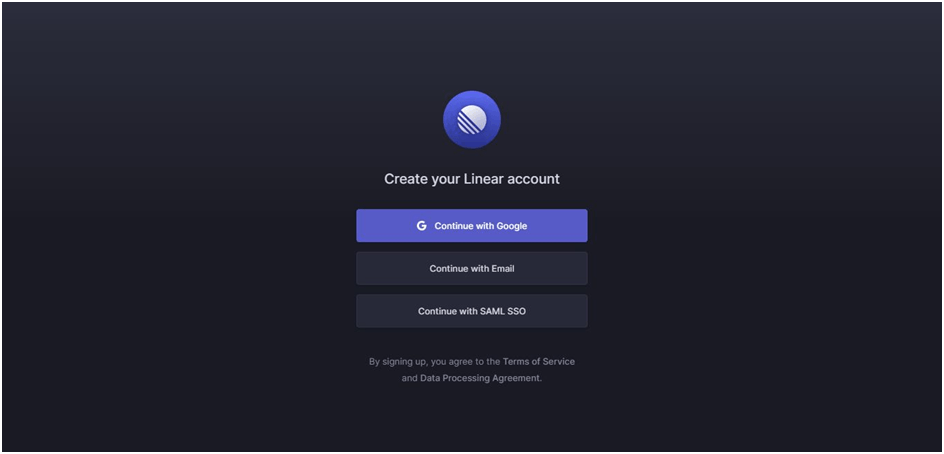
2. Signup using any of the available methods
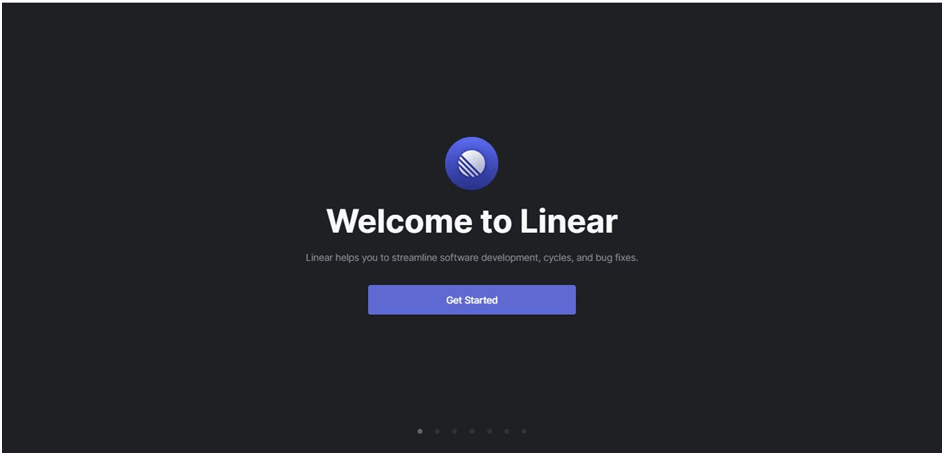
3. After completing the signup process you would be directed to the Linear welcome screen. Here, click the Get Started button
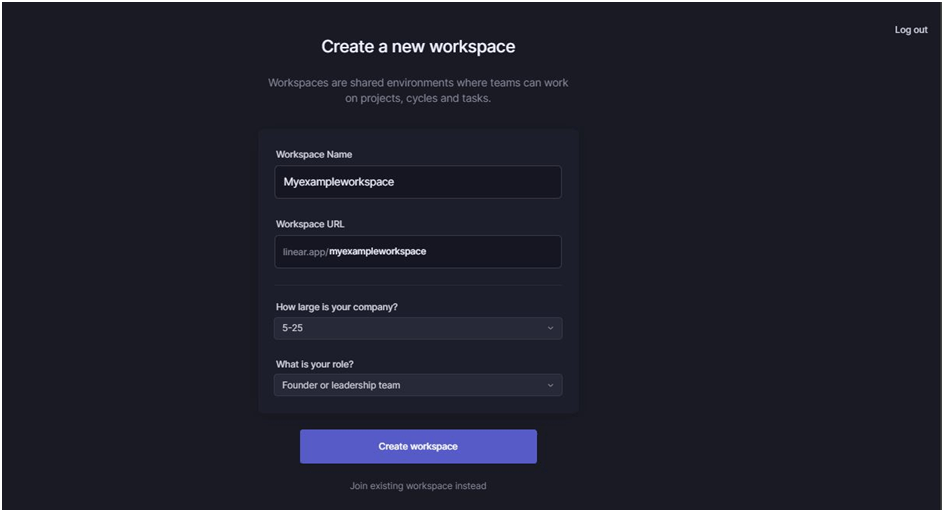
4. You would then be taken through a series of options and instructions. On the last screen, you would fill in the details to create a workspace
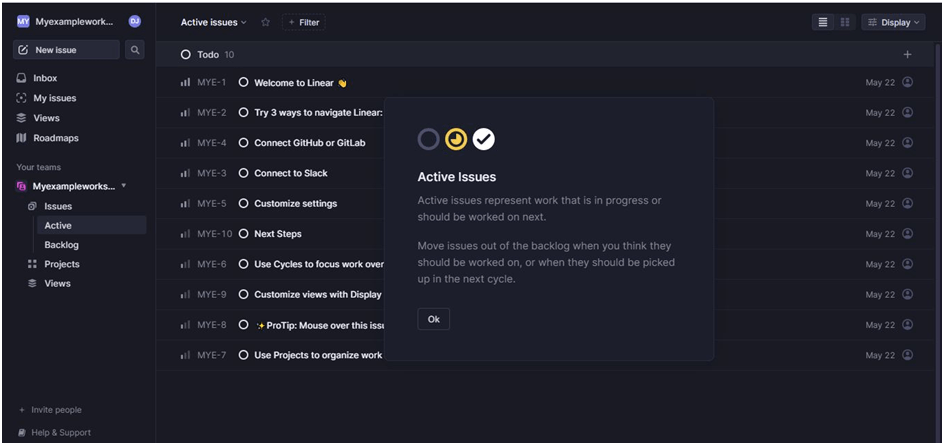
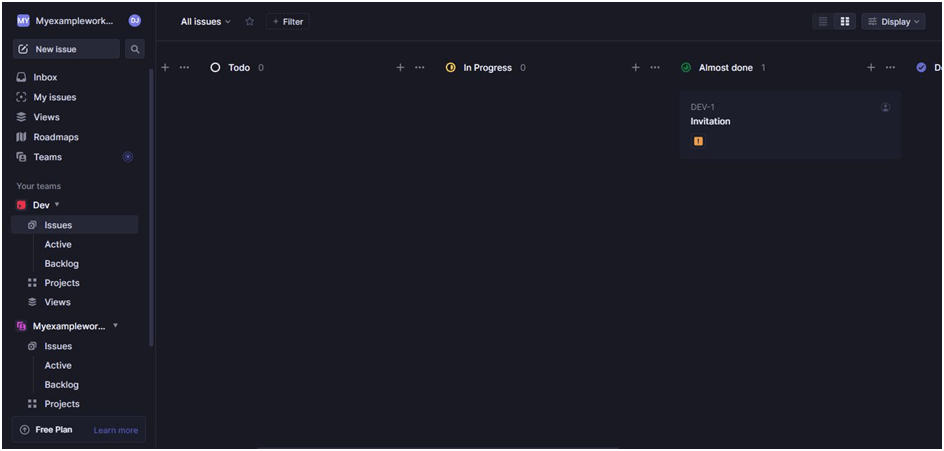
Home Screen
When the workspace is launched, a team having the same name as your workspace would be created for you
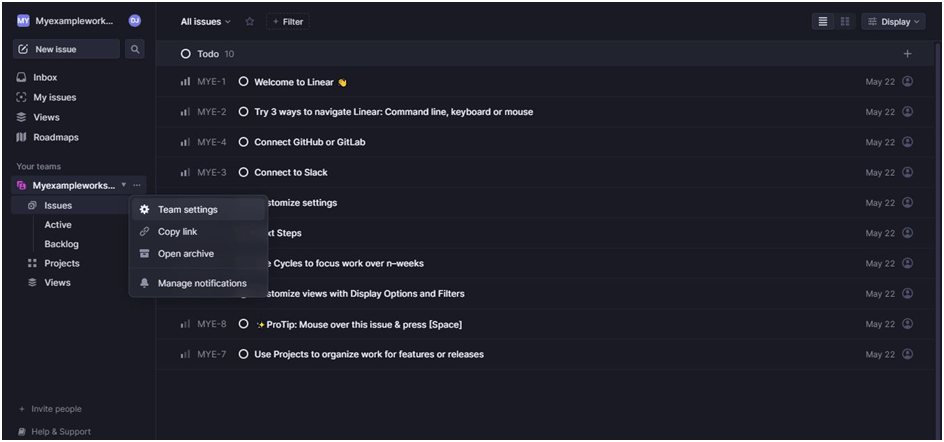
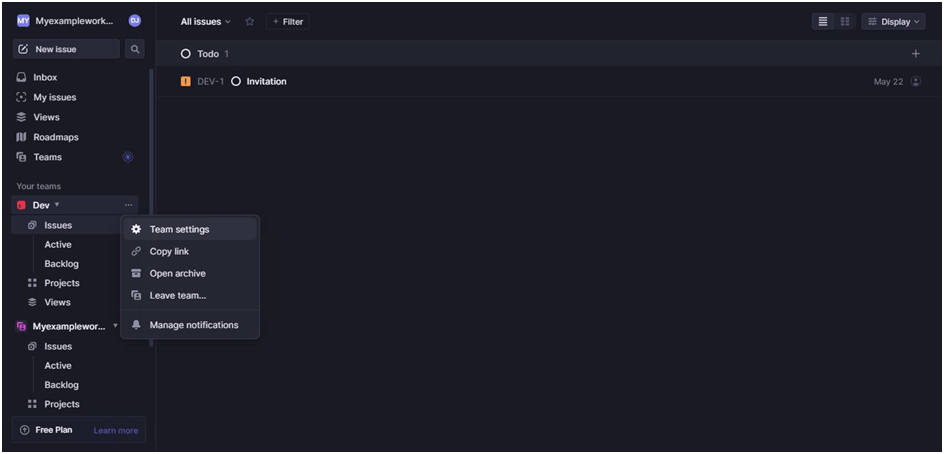
Team
A team consists of a group of persons who are going to be working together on a project. To create a team
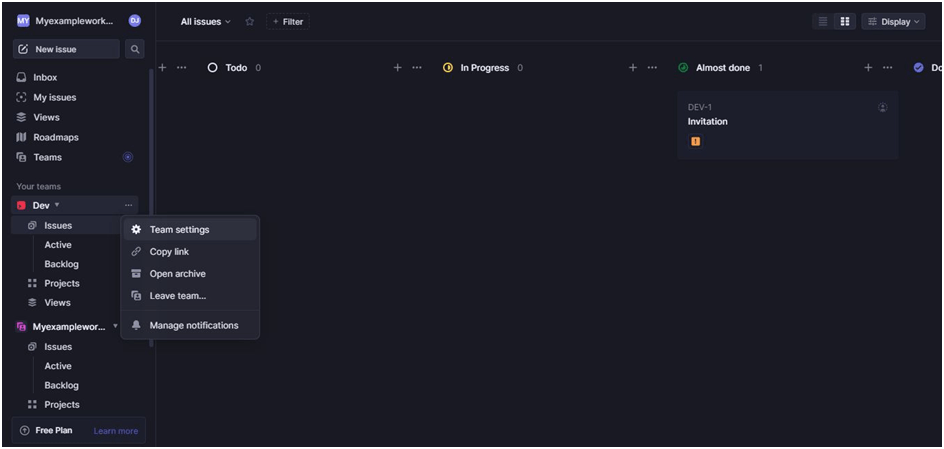
1. Click on the three dots on the default team created, then click on Team settings
2. Scroll down and click on the Add team at the bottom and then fill in the required details
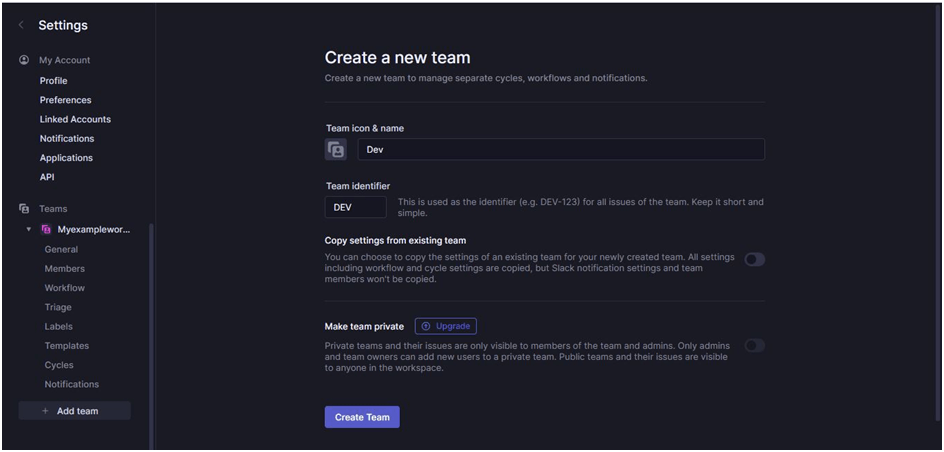
3. A team would then be created for you
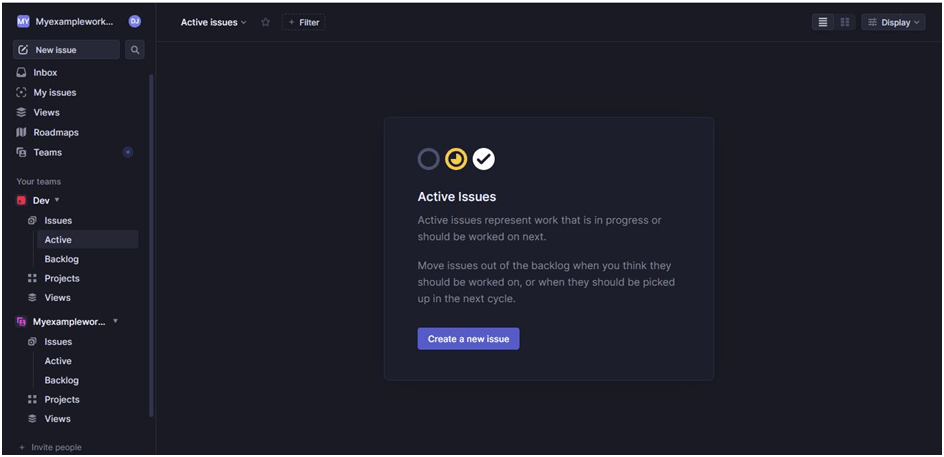
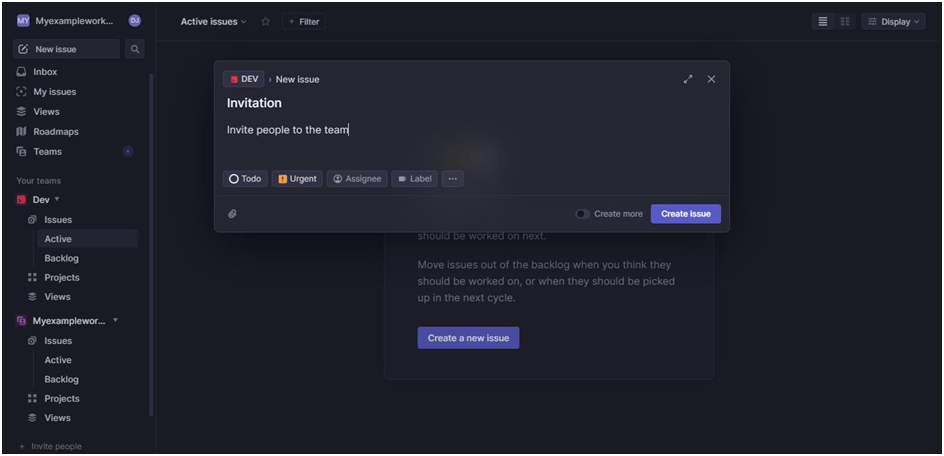
Issue
Issue is one of the core concepts in Linear. They are tasks that need to be completed by a member of a team. To create an issue
1. Click on Create a new issue on the pop-up that shows after creating a team Or press C on the keyboard
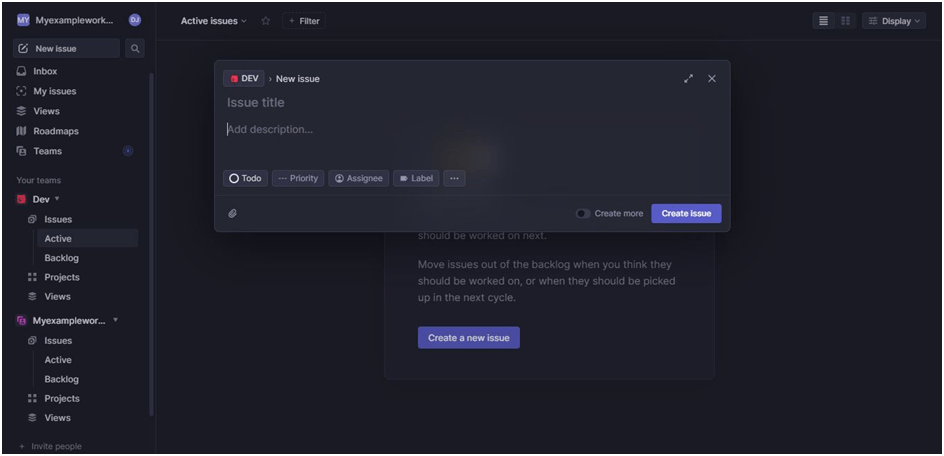
2. At the top left choose the team you want to assign the issue to and then give it a title, description, status, and priority and assign a person to the issue
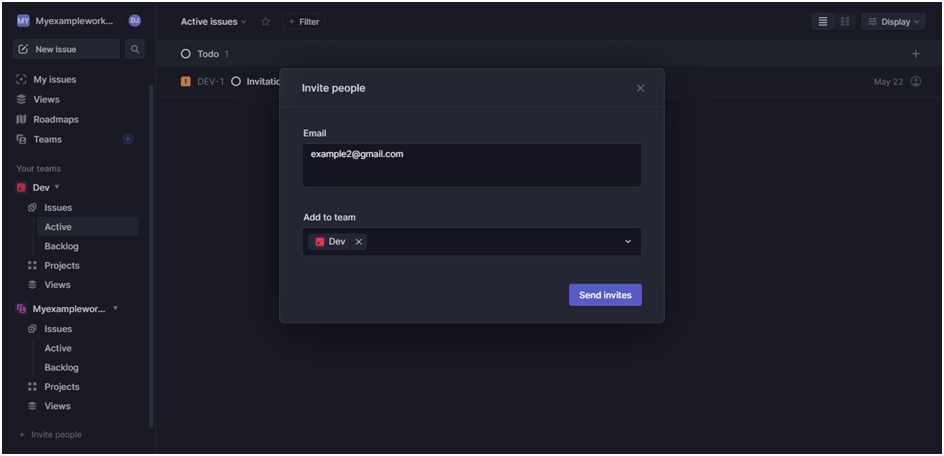
Invitation
To invite a person to your workspace
1. Scroll to the bottom of the left-hand sidebar and click Invite people
2. Enter the Email of the person and choose a team to invite the person to
Workflow
Workflow sets the status and order in which an issue would go through. Workflows are usually specific to a team. To update a workflow
1. Click on the three dots on the team you which to update its workflow, then click on Team settings
2. In your team settings, scroll down, then click Workflow
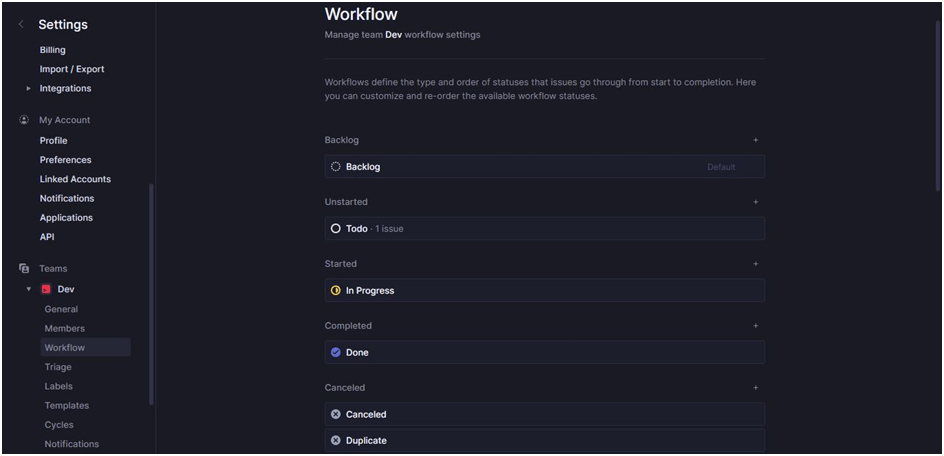
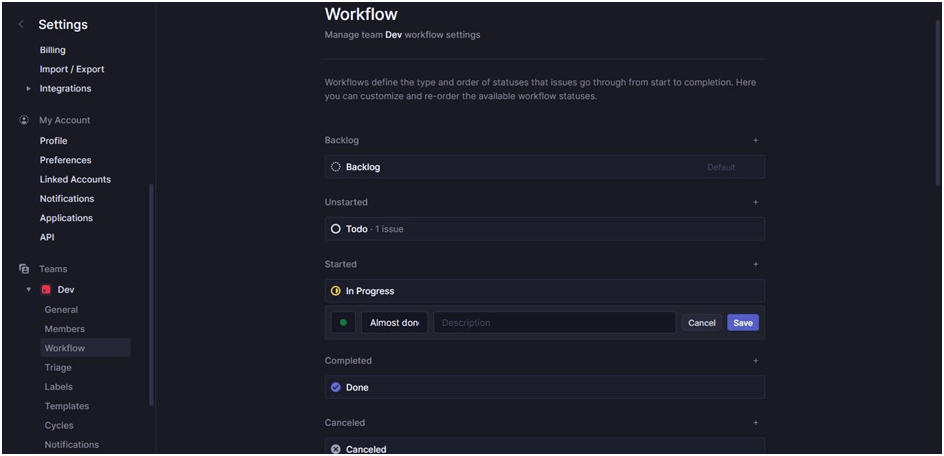
3. You would then click the plus button under any of the categories you wish to add a status to. Choose a color, name and description for the new status, then click save
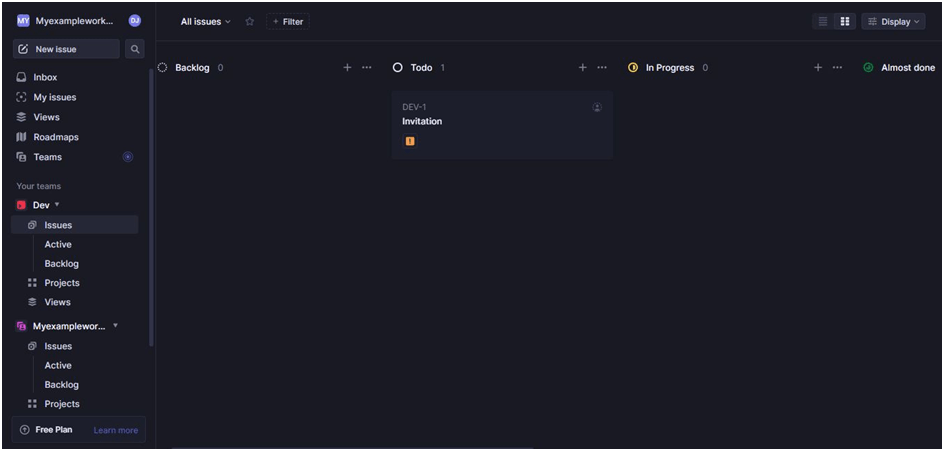
4. When you navigate back to the main screen and you choose the board option of display, you would see the newly added status
5. To move your issue to this new status, either you drag the issue Or you right click on the issue, select status and then choose the status you want to update it to
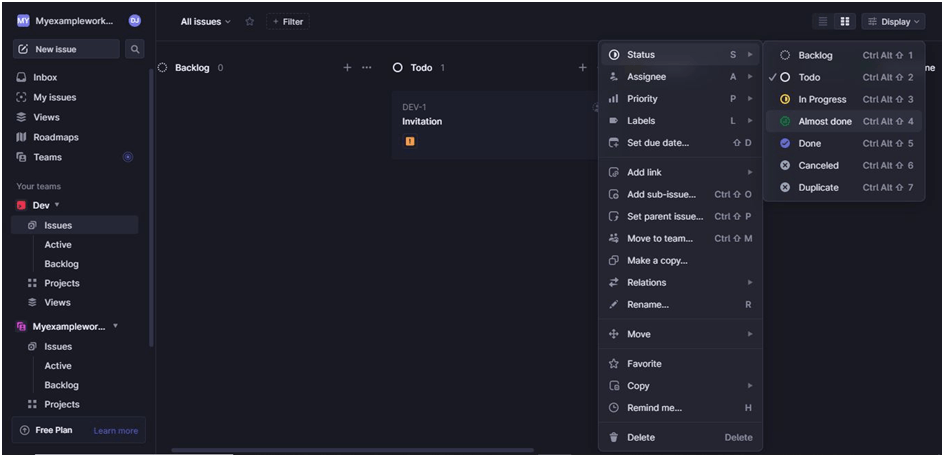
6. Updated workflow
Cycles
A cycle is the focus of the team during a set period of time. It is similar to sprints used in most agile environments. Any issue not completed in the current cycle is automatically moved to the next cycle. To create a cycle
1. Click on the three dots on the team you which to add a cycle to, then click on Team settings
2. In your team settings, scroll down, then click cycles
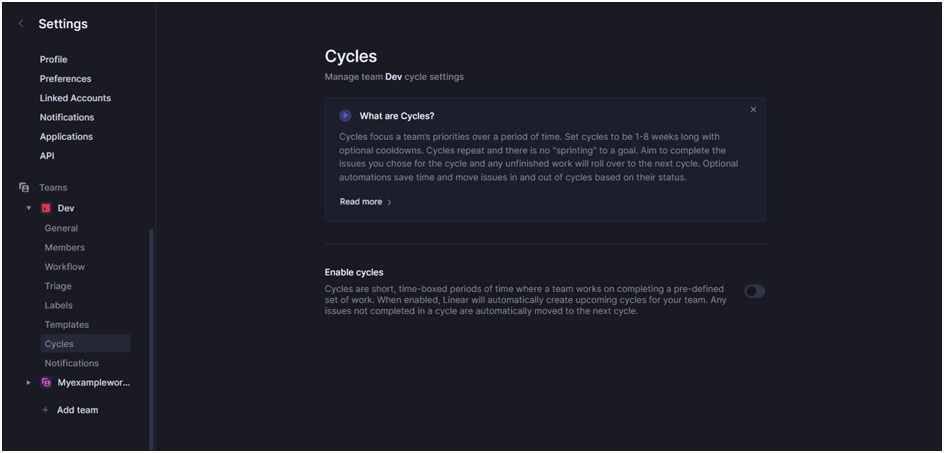
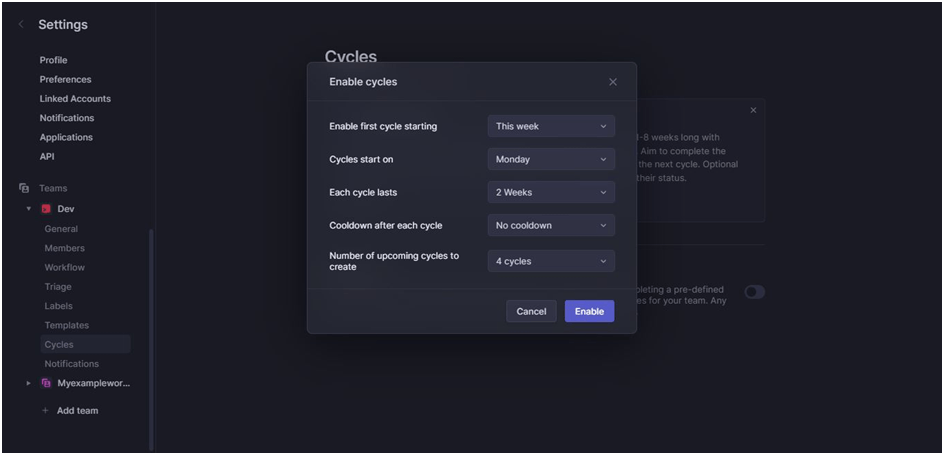
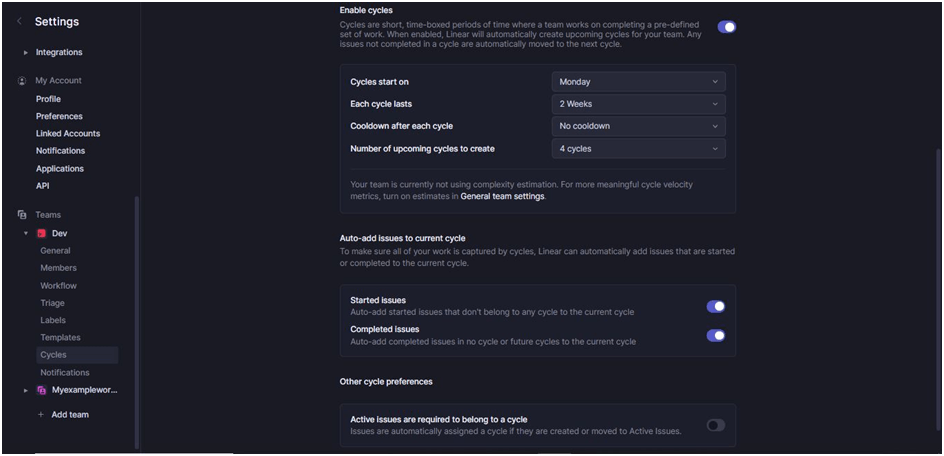
3. You would then click the toggle button at the right of Enable cycles. After this, a screen pops up. Fill in each of the detail and click Enable
- The first row determines when you want to start the cycle
- The second row determines the specific day of the week you want your cycle to start
- The third row determines the duration of each cycle
- The fourth row determines how much break your team should have after completing a cycle
- The last row determines how many upcoming cycles you want to create
4. Scrolling down, you would see some additional fields
- Enabling Started issues ensures that any issue you start that is not associated with your current cycle would be automatically added to your current cycle
- Enabling Completed issues ensures that when working on an issue that is not part of your current cycle, when this issue is completed it would be automatically added to the current cycle as completed
- Enabling the last toggle ensures that any active issue (active issues are issues in the started and unstarted workflow status) is going to be added to a cycle
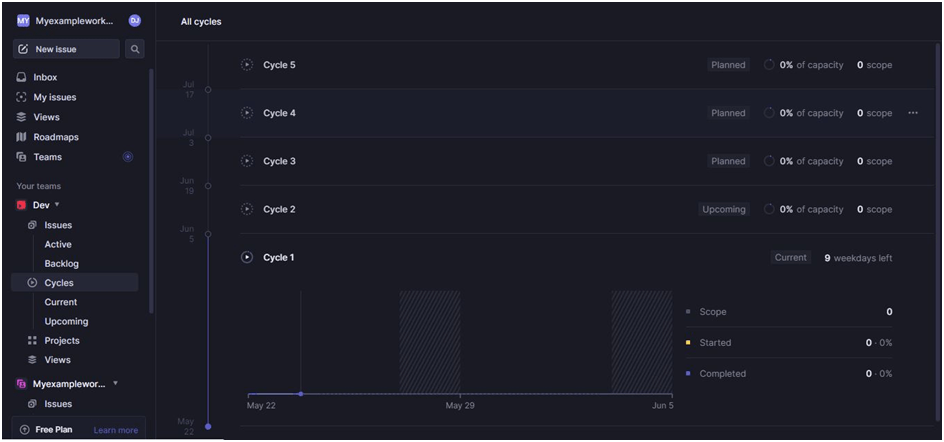
5. When you navigate back to the main screen and click on cycles, you would see your cycles
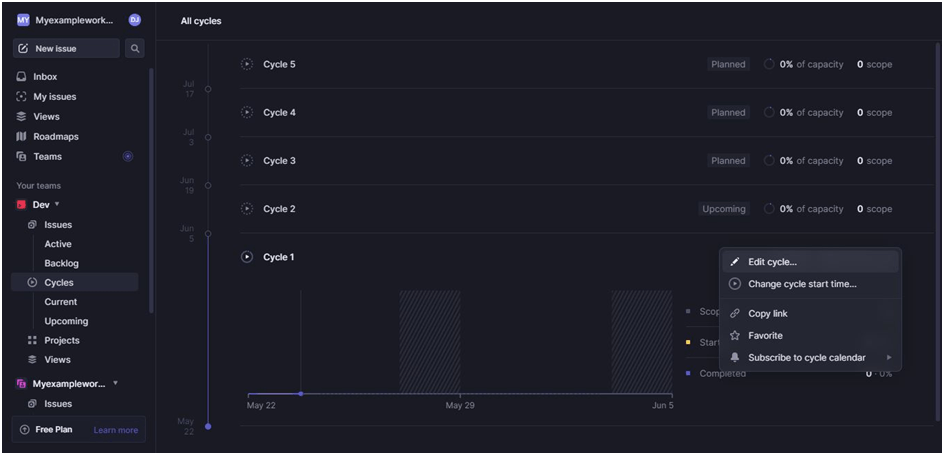
6. To update a cycle, click on the three dots at the right of the cycle you which to update, then click on the property you which to update
Project
Projects are tasks that are well-defined and have a specific outcome and completion date. A project can be worked on by a single team or it can be shared by several teams. To create a project
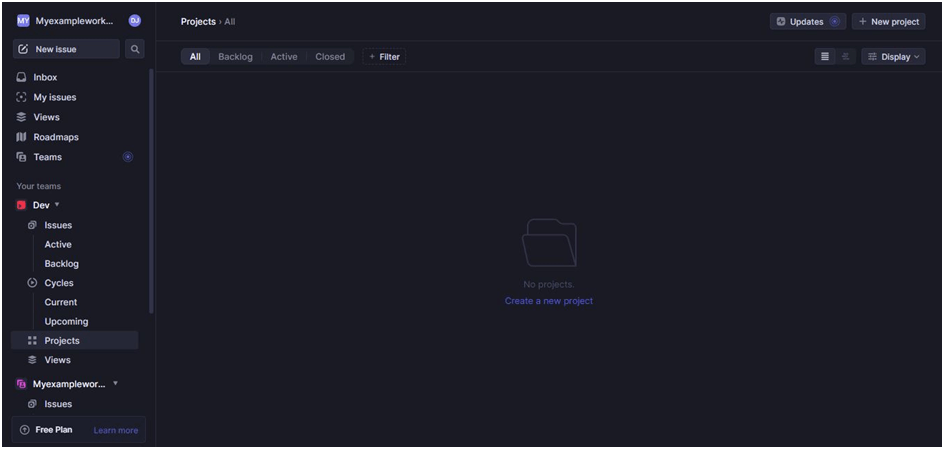
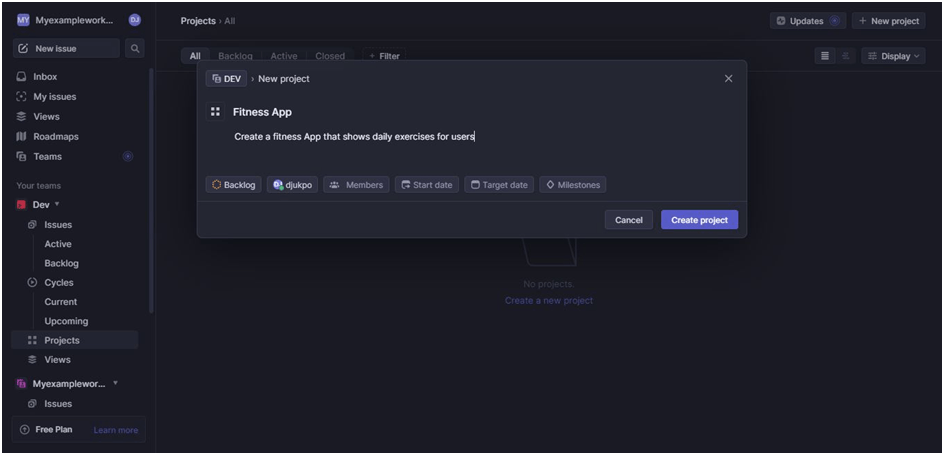
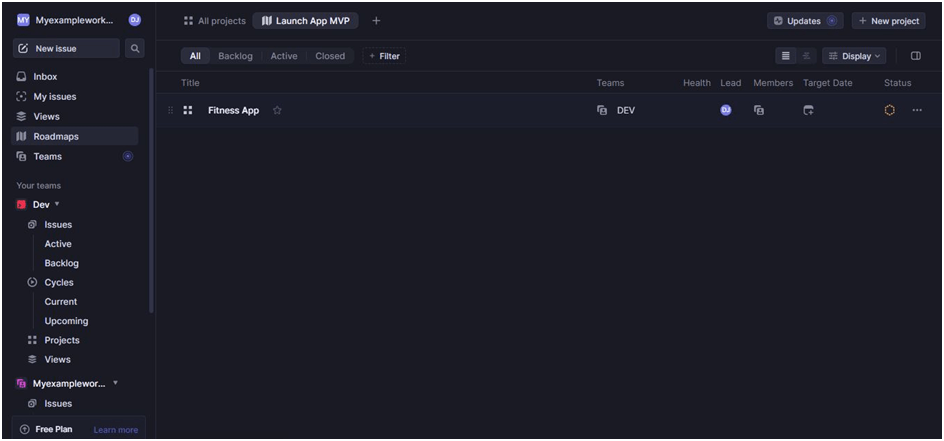
1. Click on Projects under your team, then click on the New Project button at the top right
2. Give it a title, description, status, team lead, members, start date, end date etc. Lastly, click create project
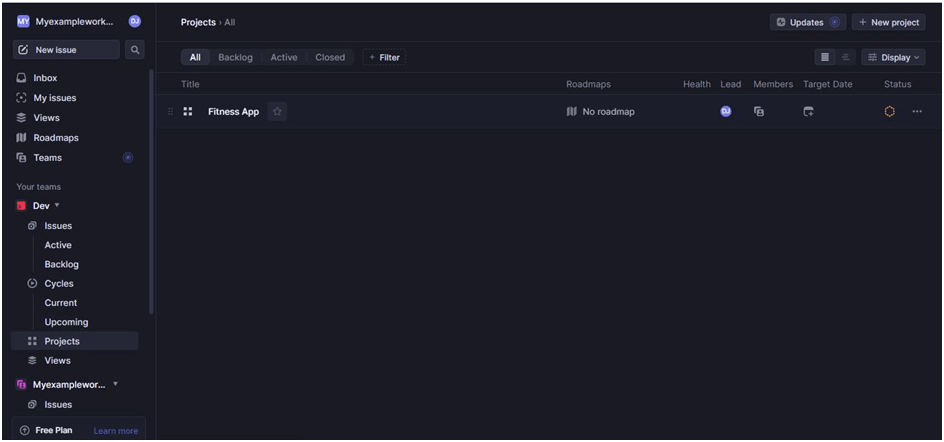
3. Created Project
Roadmap
Roadmap shows the timeline of all projects in your workspace. All members in a workspace can see the roadmap. This ensures everyone knows the vision and direction of the company. A roadmap can have several projects and a project can be part of several roadmaps. To create a roadmap
1. Click on Roadmaps on the sidebar
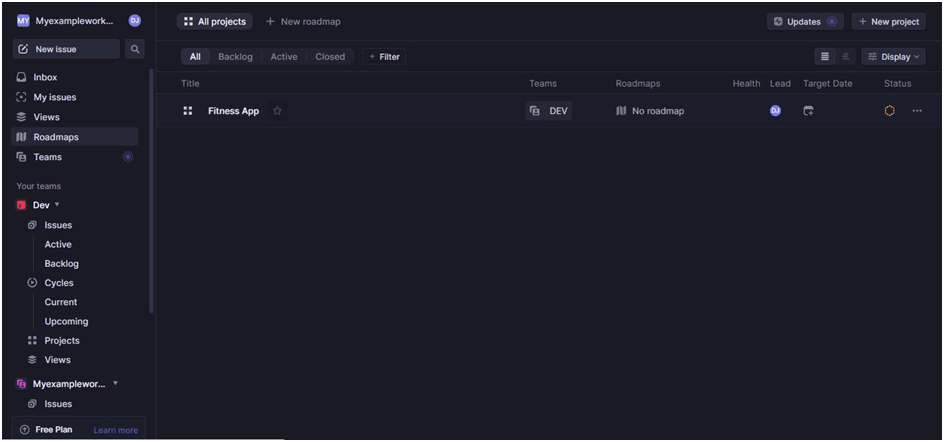
2. Then click the + plus icon on the right of All Projects at the top left. Give it a title, description and assign it to a project or several projects. Lastly, click the create roadmap button
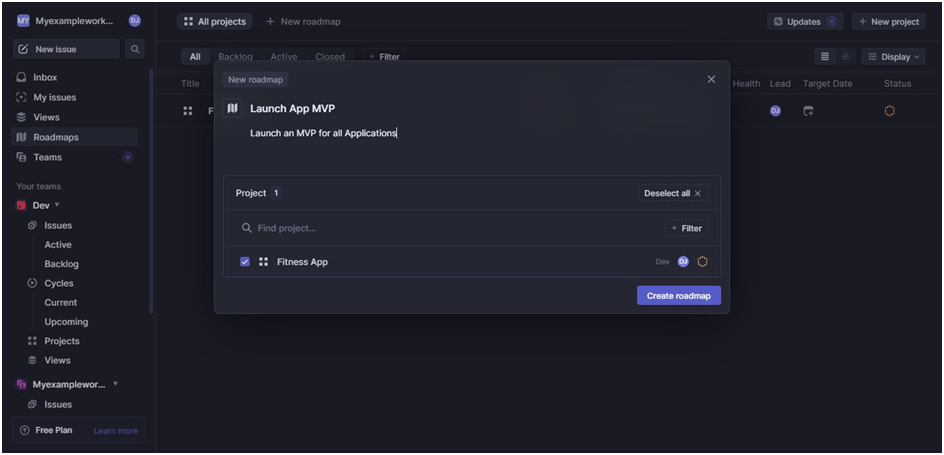
3. Created roadmap
Conclusion
In the coming years, there are going to be several project management tools trying to compete and replace the more popular ones. One certain thing is that Linear would remain considering its unique features and acceptance by the community. For further reading check the linear docs at Linear.app/docs.